OK, You’ve Spent the $: a Few Tips on Easily Caring for Your Jewelry. Part 2.
Ok. So now I’ve explained some simple tips on how to store your jewelry in Part 1: Now, let’s talk CLEANING. Keeping your jewelry fresh and clean can be simple, but we all have items that often need a little extra love and elbow grease.
From what I have found from my own jewelry wear and dealing with client’s jewelry, the biggest “dirt” offenders, are ~simply put~ ourselves. Lotions, hairspray, perfume, and cosmetics are the most common jewelry Grime contributors. These lovely lotions and potions rub off onto our jewelry, build up, and attract more gunk. Then you have sweat, dead skin, and various clinging dirt particles that build up as dirt or tarnish your pieces. Gross, right? Well, not really in the whole scheme of things: we clean our clothes, our sheets and towels, and even our windows: it’s no surprise that our bejeweled accessories need the same kind of TLC.
Before I get into tips, let me give a ‘cliff notes’ version on polishing. Most jewelry purchased has been polished in some way or another. Whether stones, silver, or gold the Polishing process includes a various # of steps including sanding, buffing, chemical solutions, sealers, etc. If you Think about sanding a piece of raw wood before staining it: one starts with the highest abrasive sandpaper working Up to the least abrasive. Basically, you are smoothing as you go- the rough stuff first to the little fine stuff. With jewelry it is the same. When you have purchased a nice piece of jewelry all the elements have gone through an extensive polishing and finishing process. So, when we clean our jewelry the Last thing we want to do is to go backwards: scuffing off the work that has made our items so pretty!
Cleaning:
A little regular maintenance is the best; but if you’re embarking on jewelry cleaning for the first time, here are a few simple tips to keep your jewelry Clean! First and most importantly; Know what materials your jewelry items Are made of/from, Are they pearls, silver, gold, base metal, glass, leather, plastic?
When to Dip or NOT:
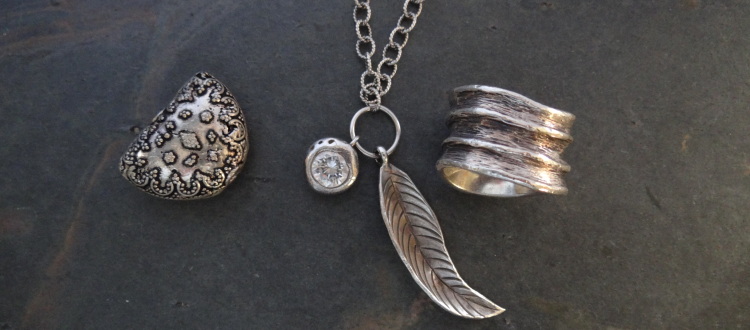
Never dip your jewelry into jewelry cleaning Dip solutions Unless; the items are your solid sterling or gold rings or plain chains/bracelets. Higher quality stones, like diamonds, sapphires, etc. are OK in dip solutions. Pearls, polymer clay, any sterling that is oxidized (dark areas with higher areas that are silver color and shiny or antique looking ) base metals, glass, plastic, or semi-precious stones like Jasper, Coral, Turquoise, etc. CAN NOT be dipped!!! The active ingredients in the dip solution can harm, distort, or destroy these items!!
Pastes. No! Leave the pastes to your silver serving items or your professional jeweler. Pastes are hard to clean off and can completely ruin jewelry items.
Toothpaste: I only Even mention this as a friend just confessed her attempt to clean earrings I made for her with……yes, toothpaste. Again, it’s a paste and it’s extremely abrasive. Using it can destroy natural coatings on pearls, polishes on stones, and actually scuff your metal And you can’t get it all off without soaking your jewelry in water….which is a No No.
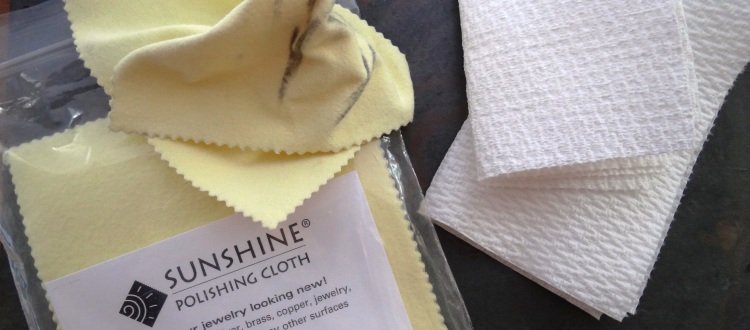
Paper Towels: these handy disposable paper rolls are not only great for the kitchen or cleanups, they can be an easy and gentle way to wipe down your jewelry without leaving tiny lint particles that facial tissue or toilet paper leaves behind. The texture in paper towels can gently lift and remove oils, gunk, lotions, and even hairspray. Repeated use of paper towels for cleaning your bling works the best to maintain your jewelry.
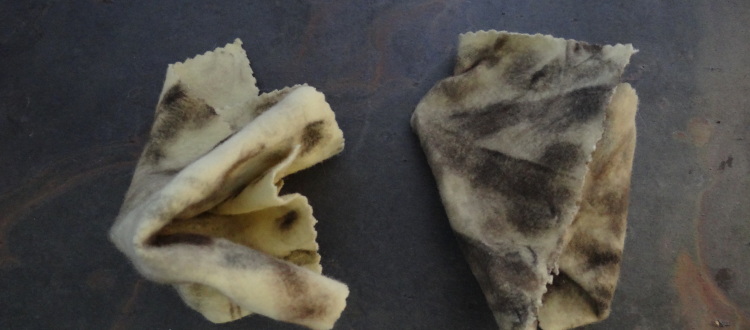
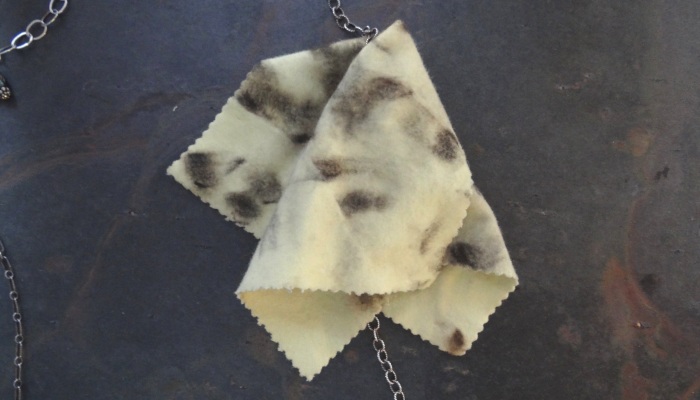
Jewelry Polishing Cloths: These weird yellow or gray cloths that you can buy or have been given by someone like me, are Fabulous! I use them All the time. Basically these cloths are thick, soft, non-abrasive, and actually contain a safe and gentle cleaning compound. They are excellent and-my-#1-go-to for removing tarnish off sterling, gunk off pearls, and any build up on stones. You’ll see dark areas appear on the cloth, which is good, it means your efforts are paying off!! You can Use these cloths until they are completely black or dark colored before replacing.
A Quick “How To” Guide:
Sterling Chains: hold chain up to give you 3-6″ of link/ chain and then gently wrap your polishing cloth around the section and lightly pull downwards. Repeat a few times and move to next section.
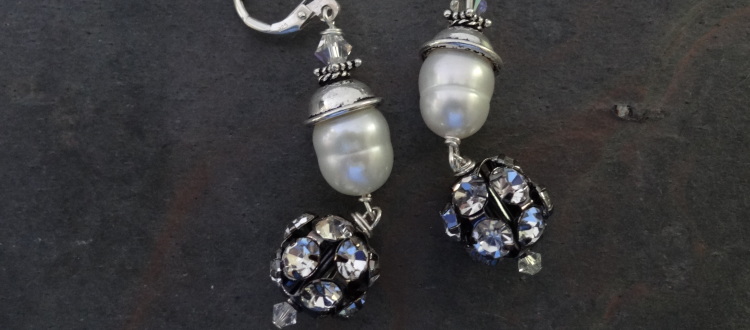
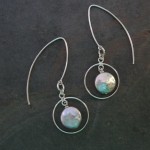
Earrings: gently rub individual components. Repeat.
Beaded Necklaces / Bracelets: Gently rub individual beads/pieces/components to remove tarnish or dirt. Do not tug or pull, as this can harm your piece; just use a gentle buffing or wiping motion.
TIPS:
- Store your jewelry as I spoke about in Part 1.
- Always put your jewelry on Last: AFTER the lotions, hairspray, perfumes, and makeup.
- Try to take your jewelry Off FIRST~ before washing your face or removing makeup.
- Take a moment once or a few times a week to quickly wipe down your jewelry. Keeping polishing cloths or a few paper towels with or near your jewelry will make this practice a bit easier.
- Know when to take your goods to a professional jeweler for cleaning. If your jewelry has become incredibly tarnished, dirty, or is a job you really do not want to tackle; let the professionals do what they best~ it’s worth the little extra $.
1

